In this guide, we will show you how to installZorinOS 17 step-by-step with screenshots. Good News for all the Zorin users out there! Zorin has launched its latest version (ZorinOS 17) of its Ubuntu based Linux distro.
Learn how to create a bootable ZorinOS USB using Rufus on Windows 11 (also works on Windows 10), complete the installation, and explore the OS’s clean, user-friendly desktop.
Insert the USB flash drive into your computer. Download and install Balena Etcher from https://balena.io/etcher. Click “Flash from file” and select the ZorinOS ISO you downloaded. Select your USB drive. Click “Flash” to start the process. Wait until the flashing process is complete, then safely remove your USB drive.
In this chapter, you’ll learn how to installZorinOS, explore its beginner-friendly interface, use Zorin Appearance to personalize your desktop, and install essential apps to get started right away.
ZorinOS is a Linux-based operating system that offers a user-friendly interface and a smooth performance. In this guide, we will walk you through the steps to installZorinOS on your computer.
Learn how to prepare your computer for installingZorinOS, including backing up data and checking system compatibility. Get step-by-step instructions for downloading ZorinOS and creating a bootable USB drive. Understand how to configure BIOS settings to boot from the USB drive and start the installation.
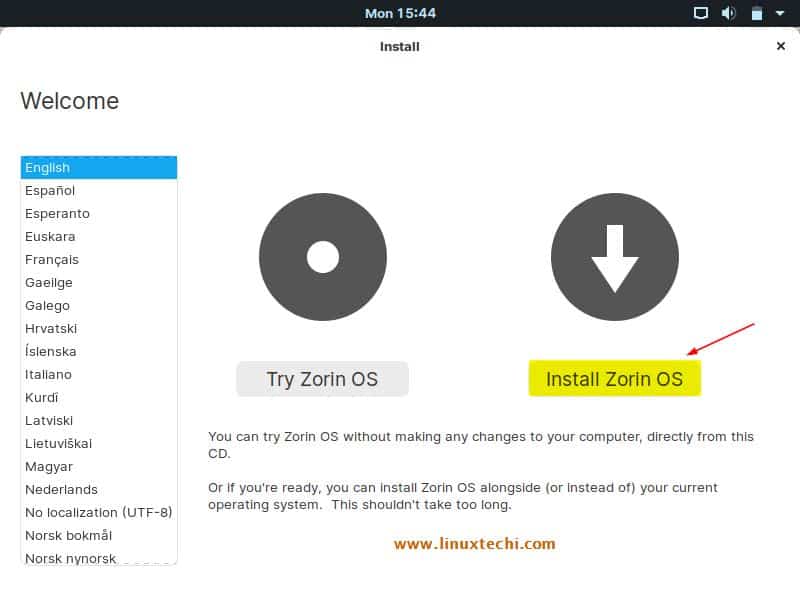
Suppose you’re considering making the switch to ZorinOS. In that case, this step-by-step guide will help you through the installation process of ZorinOS in your system, ensuring a smooth transition to this powerful and user-centric operating system.
In this comprehensive guide, we’ll walk you through the entire installation process of ZorinOS 17, complete with detailed screenshots, ensuring a smooth and successful experience.
 In this guide, we will show you how to install Zorin OS 17 step-by-step with screenshots. Good News for all the Zorin users out there! Zorin has launched its latest version (Zorin OS 17) of its Ubuntu based Linux distro.